How to Set Up Your Google Business Profile to Get More Reviews
A complete Google Business Profile unlocks review requests without spending a dollar on ads — but most businesses leave three critical settings unconfigured.
Your GBP isn’t just a directory listing. It’s a review generation machine. The problem is most business owners treat it like a phone book entry and never touch it again after initial setup. That’s where your competitors pull ahead.
Here’s what you need to know: Google actively promotes review requests to customers who visit your GBP listing. But only if you’ve actually set it up the right way. Leave one critical setting off, and your customers never see the ask. Miss another, and your review requests disappear into the noise.
Let’s fix that.
Why GBP Setup Matters
Your GBP is the first place customers land when they search for your business on Google Maps or Google Search. It’s also the primary channel Google uses to request reviews on your behalf — automatically, at scale, and for free.
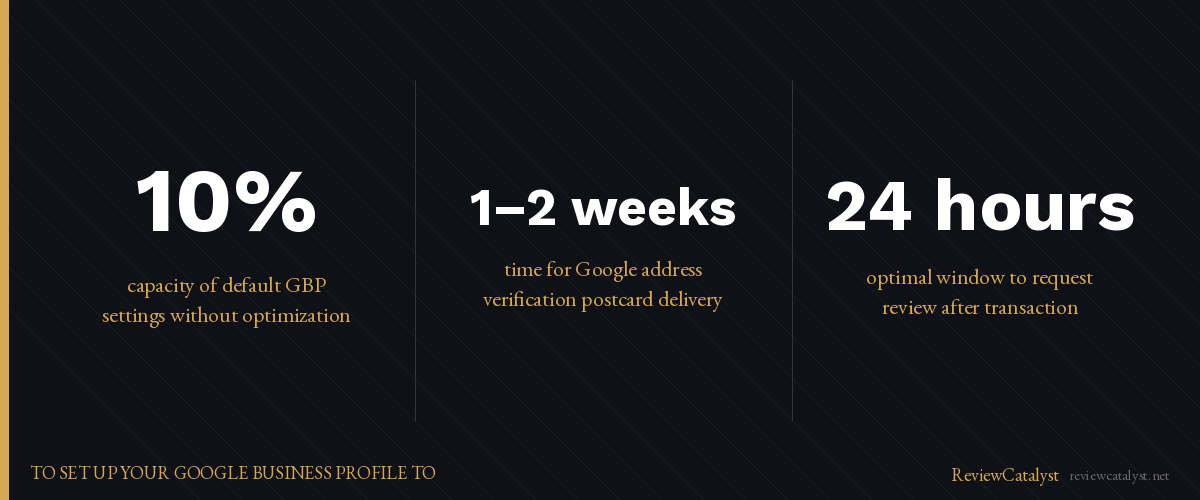
But here’s the catch: you have to enable it, configure it, and actually use it. Most businesses don’t. They rely on the default settings, which work, but at about 10% capacity.
A properly configured GBP does three things. It makes review requests visible to every customer who visits your listing. It gives customers an easy way to respond without hunting for your website. It feeds Google’s algorithm the data it needs to rank you higher in local search results.
Your competitors who have more reviews than you are likely doing one of two things: they’ve set up their GBP completely, or they’ve paired it with a review system that keeps asking for reviews consistently.
Step 1: Complete Your Business Information (No Gaps)
Google’s algorithm penalizes incomplete profiles. An incomplete GBP gets fewer impressions, fewer clicks, and fewer review requests.
The seven fields most businesses skip: a business description (750 characters explaining what you do and why you’re different), service areas (if you’re mobile, list every area you serve), business hours (accurate, updated, including holidays), website URL (critical for ranking and click-through), phone number (verified and correct), address (fully verified with a postcard from Google if you haven’t already), and photos and videos (at least 10 recent, high-quality photos of your business, team, or work).
Missing any of these means you’re invisible to customers who might otherwise leave you a review.
Verify your address and phone number immediately if you haven’t already. Google sends a postcard to your business address with a verification code. This takes 1–2 weeks. Do it now.
Step 2: Enable Review Requests
This is the step that changes everything.
In your GBP dashboard, go to Customers > Reviews > Review requests. Toggle it on. This allows Google to automatically send review requests to customers when they interact with your listing.
Most business owners stop here. Don’t.
You can customize your review request message. Instead of a generic “leave us a review,” you can write something specific to your business: “We’d love to hear about your experience at [Business Name]. Your feedback helps us improve.”
Generic is forgettable. Specific is personal. A customized message increases review response rates by creating a connection.
Step 3: Set Up Your Review Response Strategy
Every review you receive — positive or negative — should get a response.
Here’s why: Google’s algorithm ranks businesses higher when they respond to reviews consistently. It signals that you care, that you’re active, and that you’re engaged with your customers. It also keeps customers coming back and talking about your business.
Responding to every single review sounds like a lot of work. It doesn’t have to be.
Use templates for common responses. If you get a lot of five-star reviews saying “great service,” you can respond with a variation on the same message. For negative reviews, take it offline — respond publicly with something like “We’re sorry to hear about your experience. Please reach out to [phone/email] so we can make it right.”
Then actually follow up with that customer privately.
Step 4: Add Review Links and QR Codes to Your Locations
Your GBP profile already has a review request button, but most customers will never see it.
You need to bring the review ask to your customers, not wait for them to find it.
Generate a GBP QR code directly from your GBP dashboard and print it on business cards, receipts, table tents (if you’re hospitality), your counter or waiting room, and packaging or invoices.
When a customer scans the code, they land on your GBP profile and see the review request front and center. No friction. No hunting for your business online.
For online businesses, add your review link to your email signature, website, and follow-up emails.
Step 5: Create a Post-Purchase Review Workflow
Here’s where most GBP setups fall short.
A customer visits your GBP, sees the review request, and maybe they follow through. But life gets in the way. They get busy. They forget. The moment passes.
The businesses winning at reviews don’t rely on a single touchpoint. They ask multiple times, through multiple channels.
The ideal workflow: a customer completes a purchase or service in-person. You hand them a QR code or business card with your GBP review link. If they don’t review within 3–5 days, you send a follow-up via SMS or email asking again. You thank them when they do leave a review.
This takes work if you’re doing it manually. ReviewCatalyst automates the follow-up step entirely. After a customer completes a service, RC sends an SMS or email review request — you set the timing, and RC handles the send. Customers who don’t respond get a second prompt days later. No manual work. Consistent results.
The GBP Setup Checklist
Before going live, verify:
- All business information is complete and accurate
- Review requests are enabled in your GBP settings
- Your review response strategy is written (templates for common scenarios)
- QR code is generated and printed
- Review link is added to your website, email, and invoices
- You’ve planned your follow-up cadence (when and how often you’ll ask)
Common GBP Setup Mistakes (and How to Avoid Them)
Mistake 1: Leaving contact info outdated
Update your hours, phone number, and address quarterly. Out-of-date information kills trust and prevents customers from finding you.
Mistake 2: Asking too late (or not at all)
Ask for a review within 24 hours of a transaction or service. After that, the moment fades. If you’re not asking at all, start now.
Mistake 3: Responding to negative reviews poorly
A bad response to a one-star review can tank your rating faster than the original review. Stay professional. Take it offline. Fix the problem.
Mistake 4: Using generic review language
“Please leave us a review” underperforms. Be specific about what you want feedback on and why it matters.
How to Measure GBP Setup Success
After you’ve completed setup, track these metrics: review request volume (check your GBP dashboard weekly), response rate (how many customers actually leave a review after being asked), average rating (is it climbing or stable?), and local search ranking (are you showing up higher in Google Maps for your keywords?).
If review requests are going up but reviews aren’t following, your follow-up system needs work. That’s the gap between a complete GBP setup and a complete review system.
A complete GBP setup helps, but it’s not a complete system. Most customers who see a review request in GBP never follow through — they forget, get distracted, or never see it again. ReviewCatalyst automates follow-up with SMS and email so you actually get responses. Try it free for 14 days — no credit card required. reviewcatalyst.net
Ready to get more reviews on autopilot?
ReviewCatalyst sends review requests via SMS automatically — no manual follow-up, no chasing customers.
Start Free Trial